“Never get stranded again if your kickstand switch fails. If the switch fails, you will not be able to put the bike in gear as it will shut the bike off.”
Tools Needed:

- 8mm Socket
- 10mm Socket
- 12mm Socket
- 5mm Allen Wrench
- 6mm Allen Wrench
- Flat Head Screwdriver
- Wire Cutters
- Wire Terminal Crimpers
- Heat Gun
Additional Supplies:
Instructions:
Step 1:
Remove the right and left rear side panels with the 5mm allen wrench. You can remove the seat as well using a 6mm Allen Wrench.
Step 2:
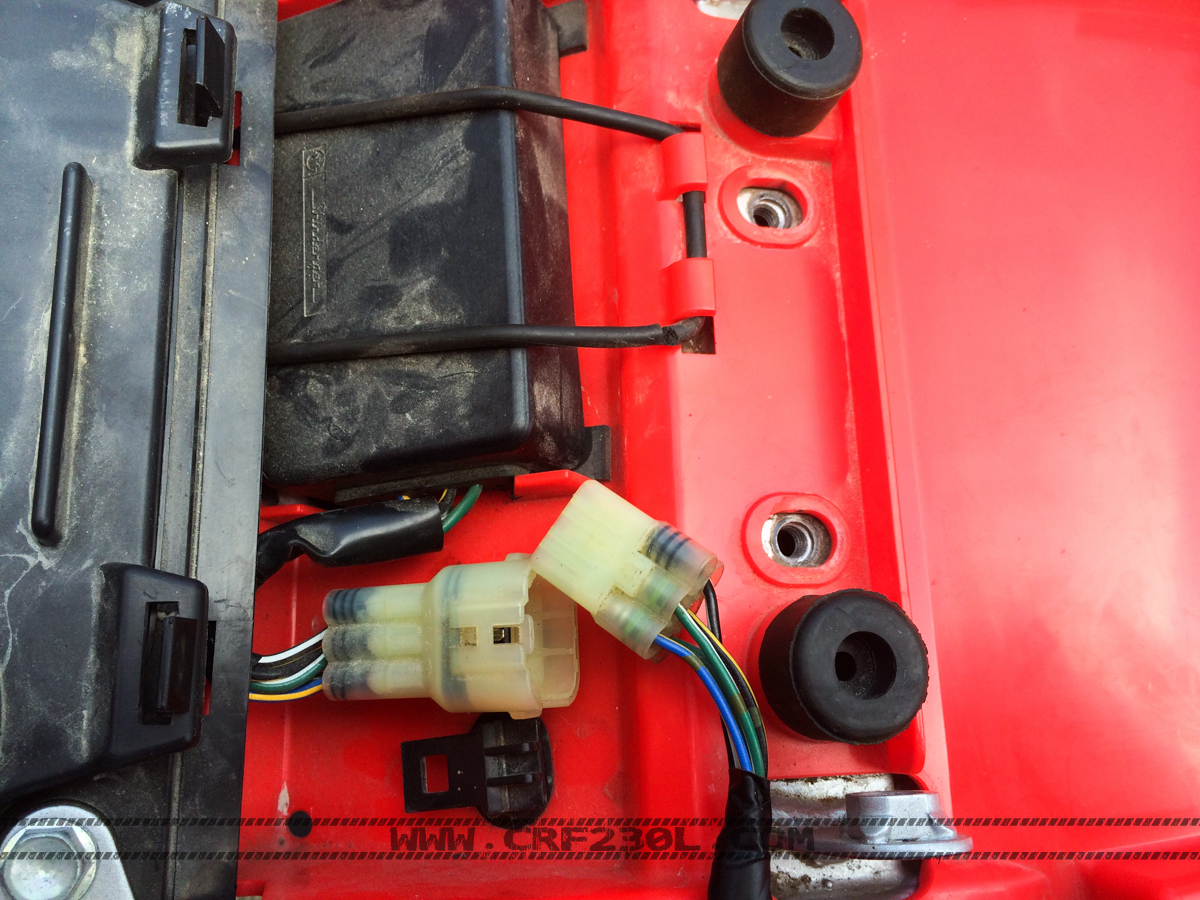
Remove the rear fender using an 8mm socket near the front and a 6mm allen wrench out on the rear of the fender. You will need to diconnect the white connector to the CDI. At this point you can remove the rear fender with the CDI attached.
Step 3:
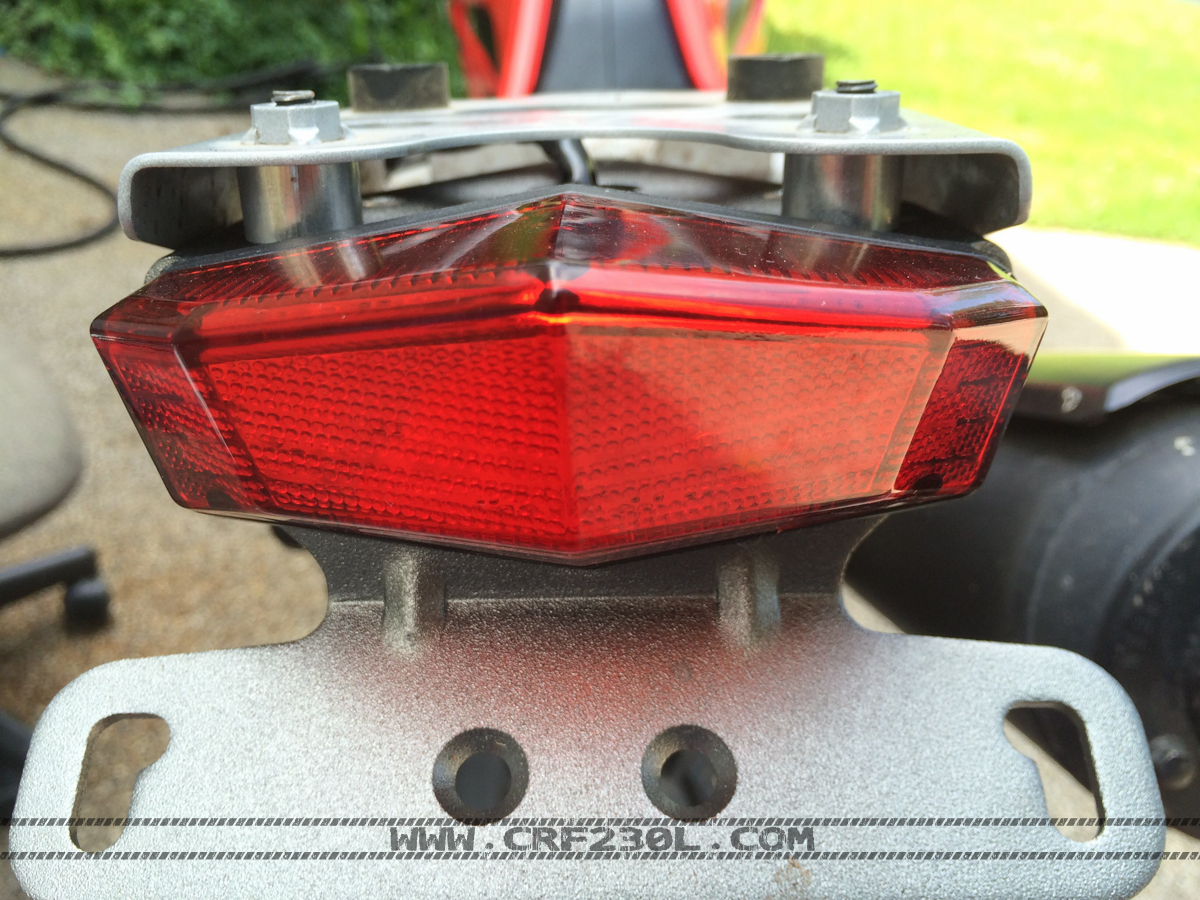
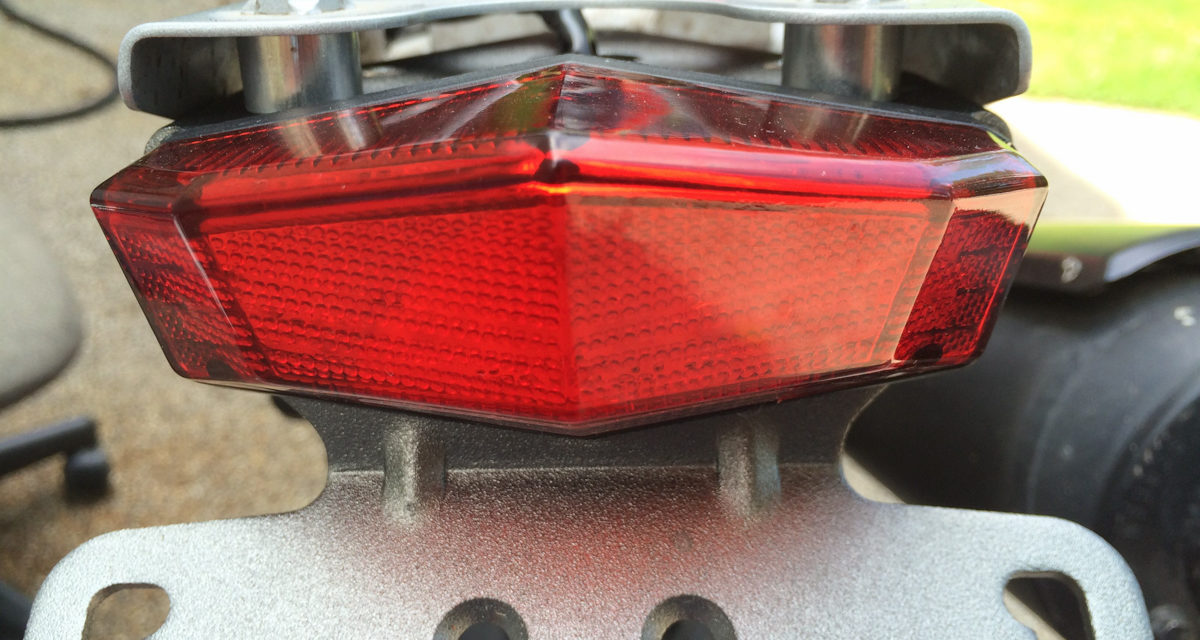
Remove the left and right turn signals using a 12mm socket wrench. Remove the taillight using an 10mm socket of the most rearward bolts and then using an 10mm socket and a 10mm wrench to remove the fore most bolt in the center. You can discard this bolt it will not be reused, keep the 2 black aft most bolts to reattach the new light.
Step 4:
Remove the factory wiring following it down the left side of the bike towards the front. There are a few plastic clips you can release with a flat head screwdriver. You can then unplug the 3 factory connectors to completely remove the taillight and turn signals from the bike. Set these aside, these will be sacrificed later.
Step 5:
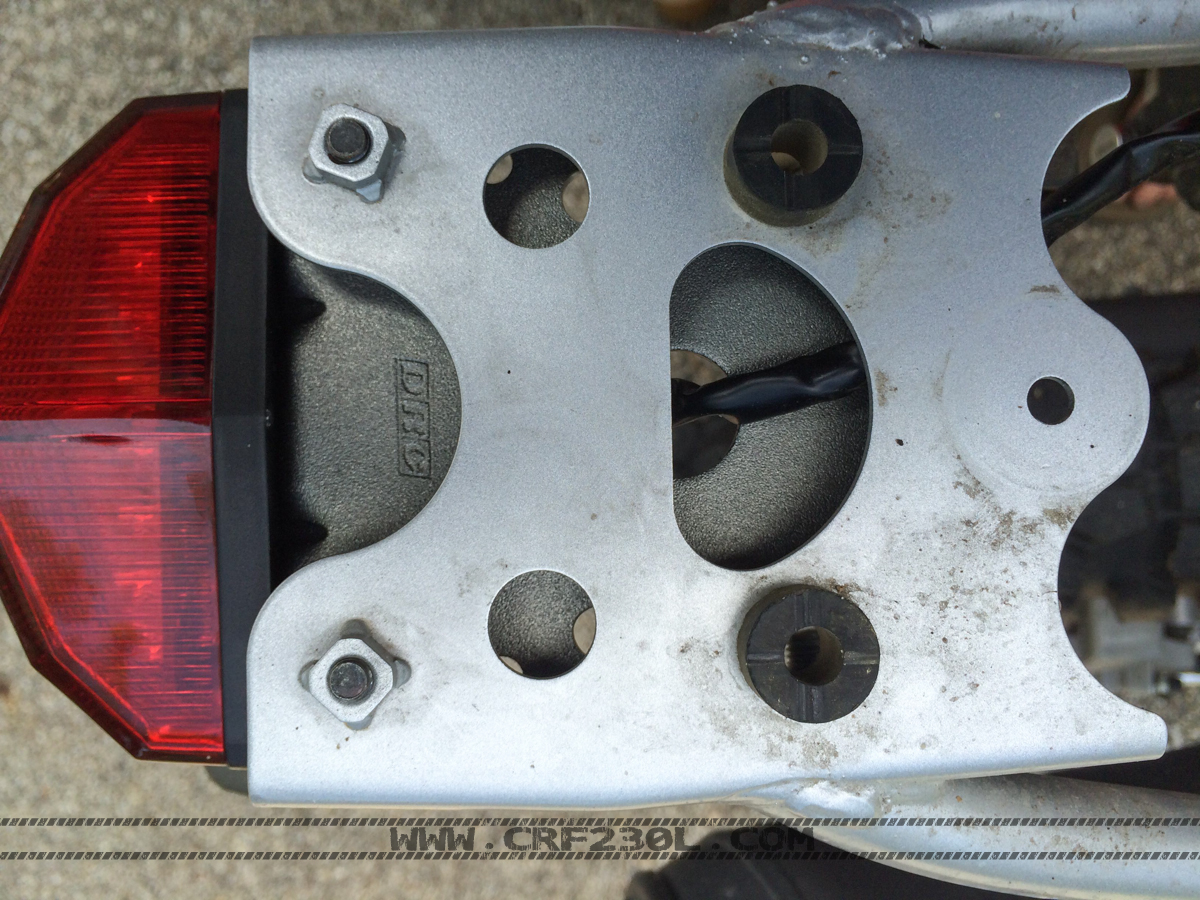
Take a scrap piece of thick paper to make a drill template. Fold or cut this just to fit between the end of the rear subframe. Once this fits, line up the front edge of the paper with the edge of the frame. Take a punch to mark the to factory bolt holes on your template. Use your template, again lined up with the front edge of the tail light bracket to transfer your marks. Drill these two .25 inch holes. Clean up any burrs.
Step 6:
Using the supplied aluminum spacers and factory bolts, attach the new taillight. You may want to run the wire up through the big hole in the bracket at this time so the wire is between the taillight mount and subframe to keep it up and out of the way.
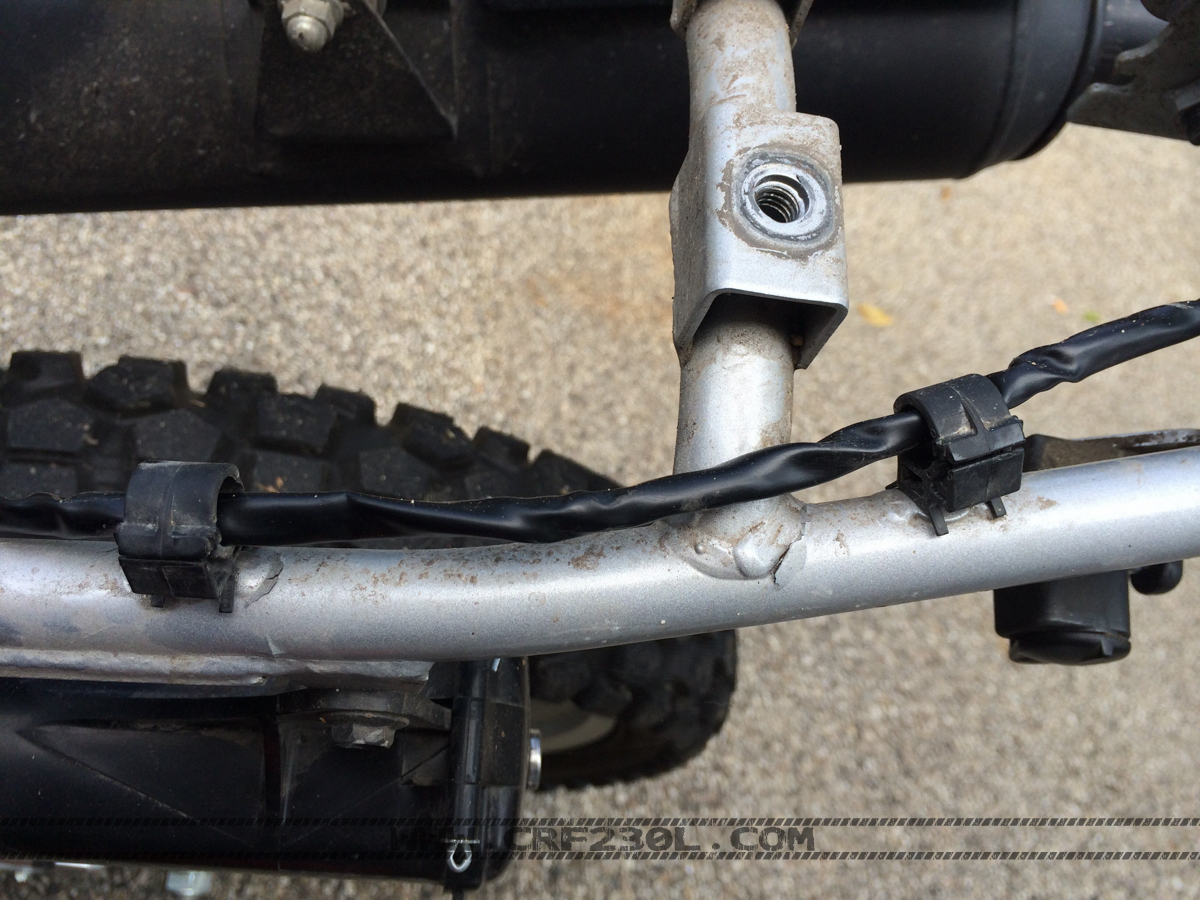
Step 7:
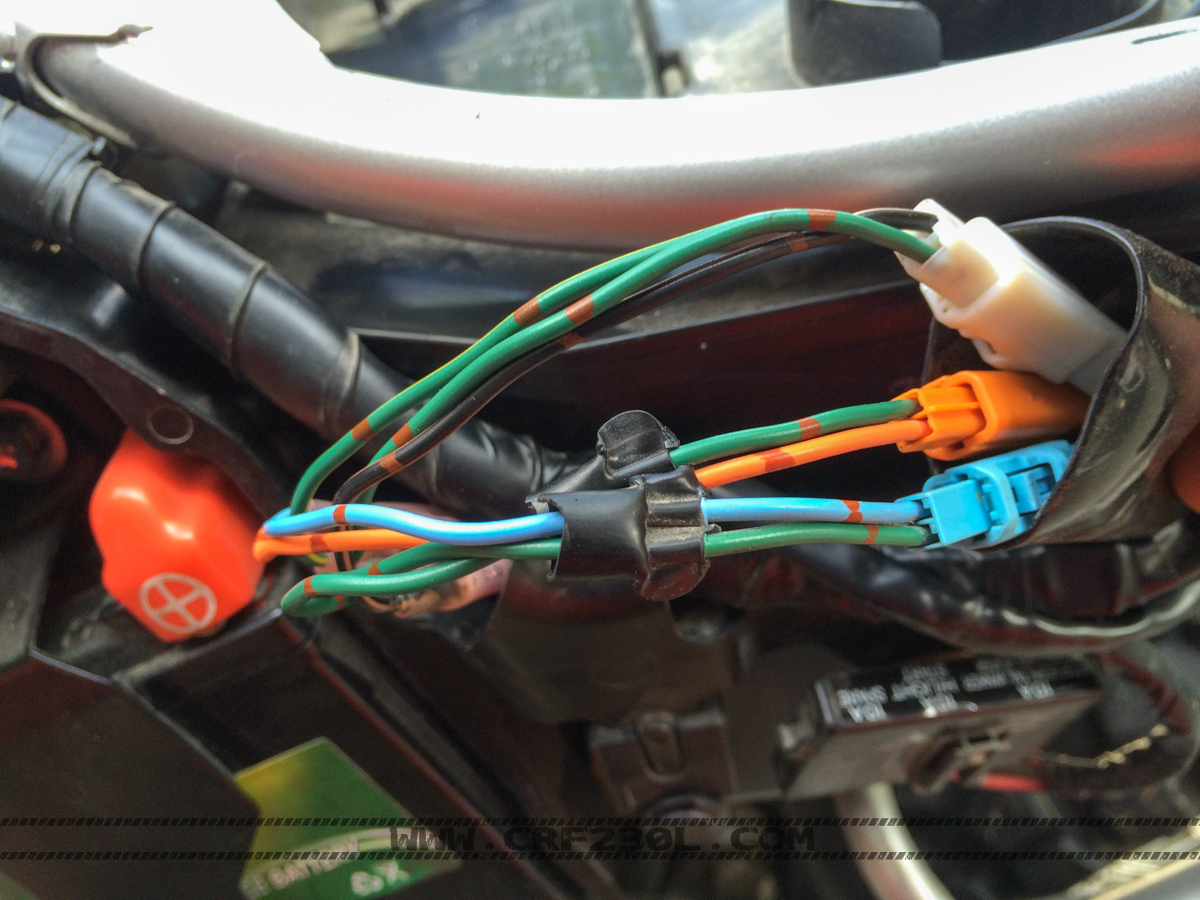
Run the wire back through the factory clips towards the battery box area where the factory connectors were disconnected.
Step 8:
To retain the ability to remove the light in the event of service, reusing the factory connectors is required. Take the taillight and turn-signals and cut the factory connectors off leaving 3 inches or so. At this time you can remove the factory wire sleeves. Strip .25-.375 inches off the end of each wire.

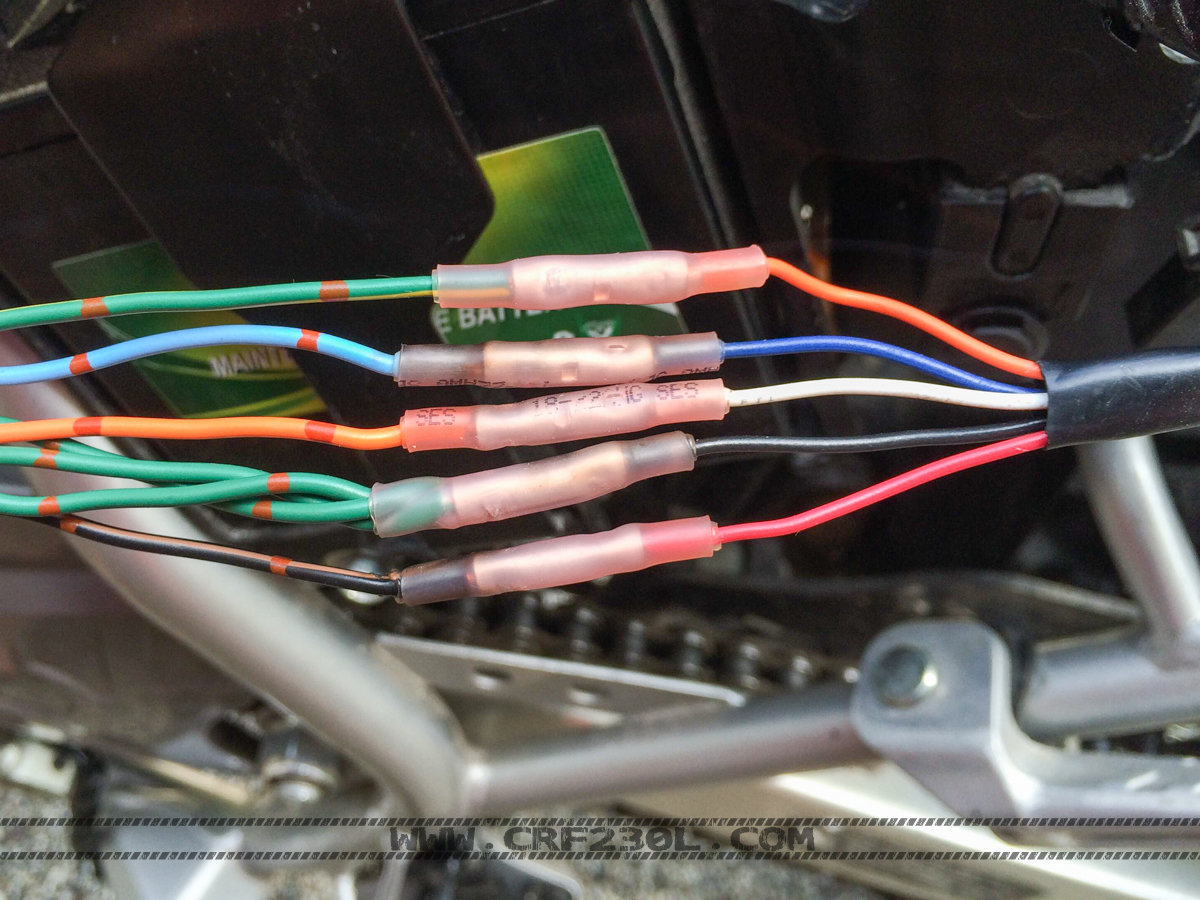
Step 9:
Using 18-20 AWG Heat Shrink Butt Connectors connect as follows:
| Function | Honda |
12 O’Clock Labs |
| – Ground | Green** | Black |
| – Positive | Black w/Brown | Red |
| Right Turn | Light Blue | Blue |
| Left Turn | Orange | White |
| Stop | Green w/Yellow | Orange |
** The three factory grounds will connect to the one 12 O’Clock Labs Ground.
Step 10:
Reinstall all of the remaining parts in reverse order. Reward yourself with an ice cold beverage.